VMware Workstation Pro and Fusion 25H2
VMware Workstation Pro 25H2 and VMware Fusion Pro 25H2 provide professional desktop virtualization for Windows, Linux, and macOS. This release is perfect for learning virtualization, giving students, IT professionals, and enthusiasts hands-on experience with real-world setups. The full Pro feature set is fully unlocked, with no license key required, and now free for commercial, educational, and personal use. It’s an ideal platform to build practical skills in system administration, networking, and software testing, while exploring virtualization technologies safely and efficiently.
Key Features
| Feature | Description |
|---|---|
| Run Multiple VMs | Run several virtual machines simultaneously on a single system without performance bottlenecks. |
| Advanced Networking | Design, simulate, and test complex virtual networks for development, training, or labs. |
| Snapshots & Clones | Instantly save VM states or clone environments to speed up testing and recovery. |
| Optimized Performance | Intelligent resource allocation ensures smooth performance under demanding workloads. |
| Secure Isolation | Keep virtual machines isolated to protect the host OS and maintain system security. |
| Cross-Platform Support | Supports Windows and Linux hosts with compatibility across many guest operating systems. |
| Container Integration | Integrates with Docker and Kubernetes workflows inside virtualized environments. |
System Requirements for VMware Workstation Pro / Fusion 25H2
Minimum System Requirements
| Component | Windows | macOS | Linux |
|---|---|---|---|
| OS | Windows 10 or Windows 11 (64-bit) | macOS 15 Sequoia or later (Intel or Apple Silicon) | 64-bit Linux (RHEL 10, Fedora 42, Debian 13, openSUSE Leap 16, SUSE Linux 16, or equivalent) |
| Processor | 64-bit Intel or AMD CPU with VT-x or AMD-V | Intel or Apple Silicon with virtualization support | 64-bit Intel or AMD CPU with VT-x or AMD-V |
| RAM | 2 GB | 8 GB | 2 GB |
| Storage | ~1 GB for application + 20 GB per VM | ~1 GB for application + 20 GB per VM | ~1 GB for application + 20 GB per VM |
| Internet | Required for install, updates, and activation | Required for install, updates, and activation | Required for install, updates, and kernel modules |
Recommended System Requirements (Optimal Performance)
Recommended System Requirements
| Component | Windows | macOS | Linux |
|---|---|---|---|
| OS | Windows 11 (64-bit) | Latest macOS release supported by Fusion | Latest supported 64-bit Linux distribution |
| Processor | Multi-core Intel or AMD CPU with VT-x or AMD-V | Apple Silicon (M1/M2/M3) or modern Intel CPU | Multi-core Intel or AMD CPU with VT-x or AMD-V |
| RAM | 8–16 GB or more | 16 GB or more | 8–16 GB or more |
| Storage | SSD recommended, 40 GB+ free per VM | SSD recommended, 40 GB+ free per VM | SSD recommended, 40 GB+ free per VM |
| Internet | Persistent connection for updates and downloads | Persistent connection for updates and downloads | Persistent connection for updates and build dependencies |
##How to obtain VMware Workstation Pro 25H2 As Broadcome now offers VMware Workstation Pro and Fusion 25H2 free for personal and commerical use without a traditional paid license key.
- Go to the Broadcom Support Registration Page
- Open your browser and visit: https://profile.broadcom.com/web/registration. Proceed to complete the registration process.
-
After registering, go to https://support.broadcom.com and log in with your new account credentials.
- Navigate to VMware Downloads
- In the top right, pick “VMware Cloud Foundation” from any dropdown if visible. Support Portal
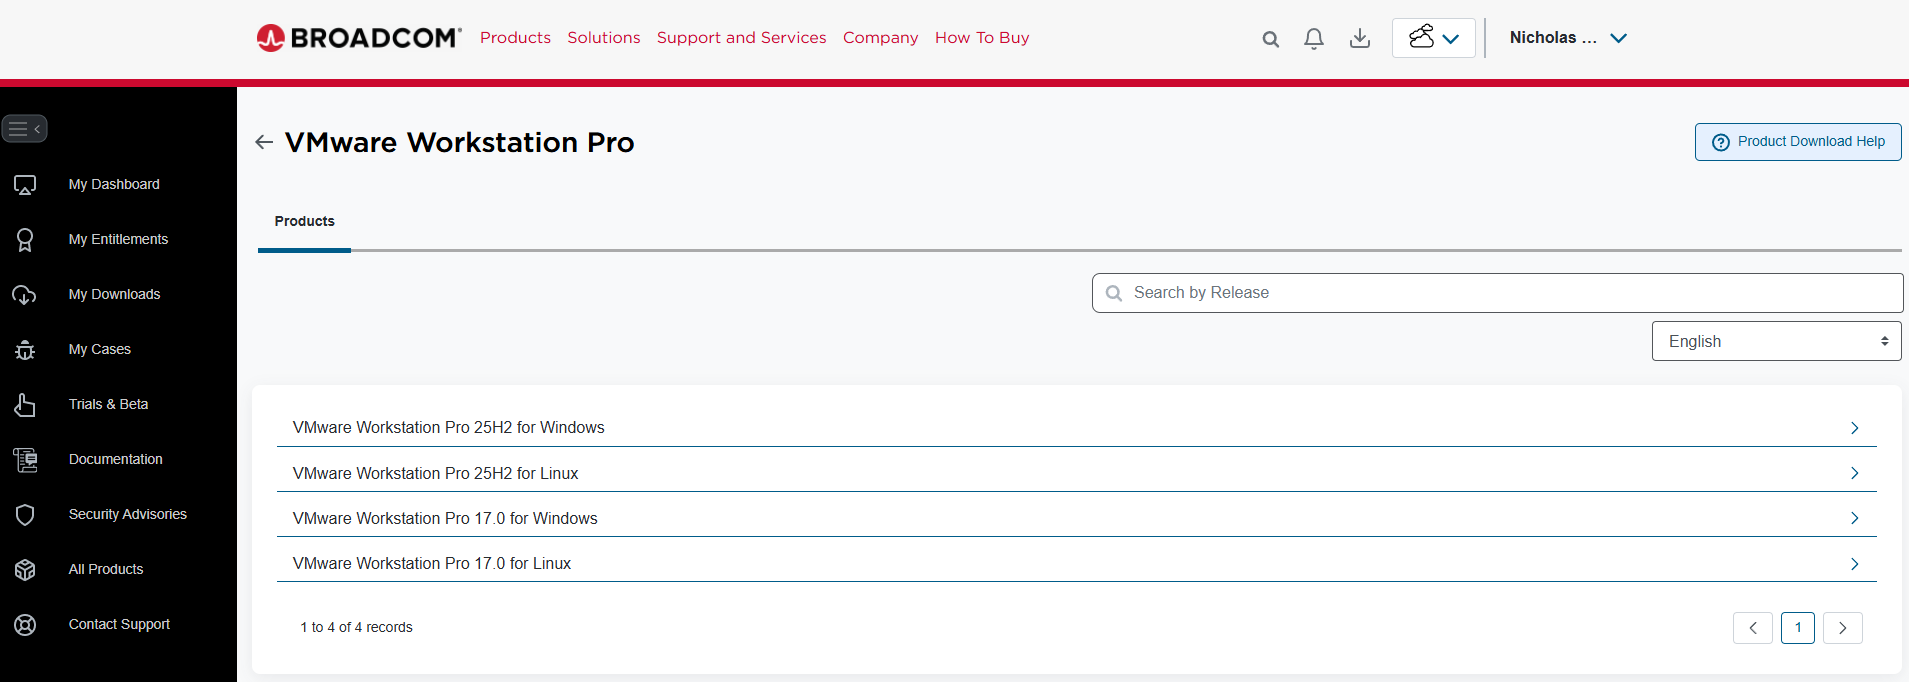
- Go to My Downloads → find the link named “Free Software Downloads available HERE”.
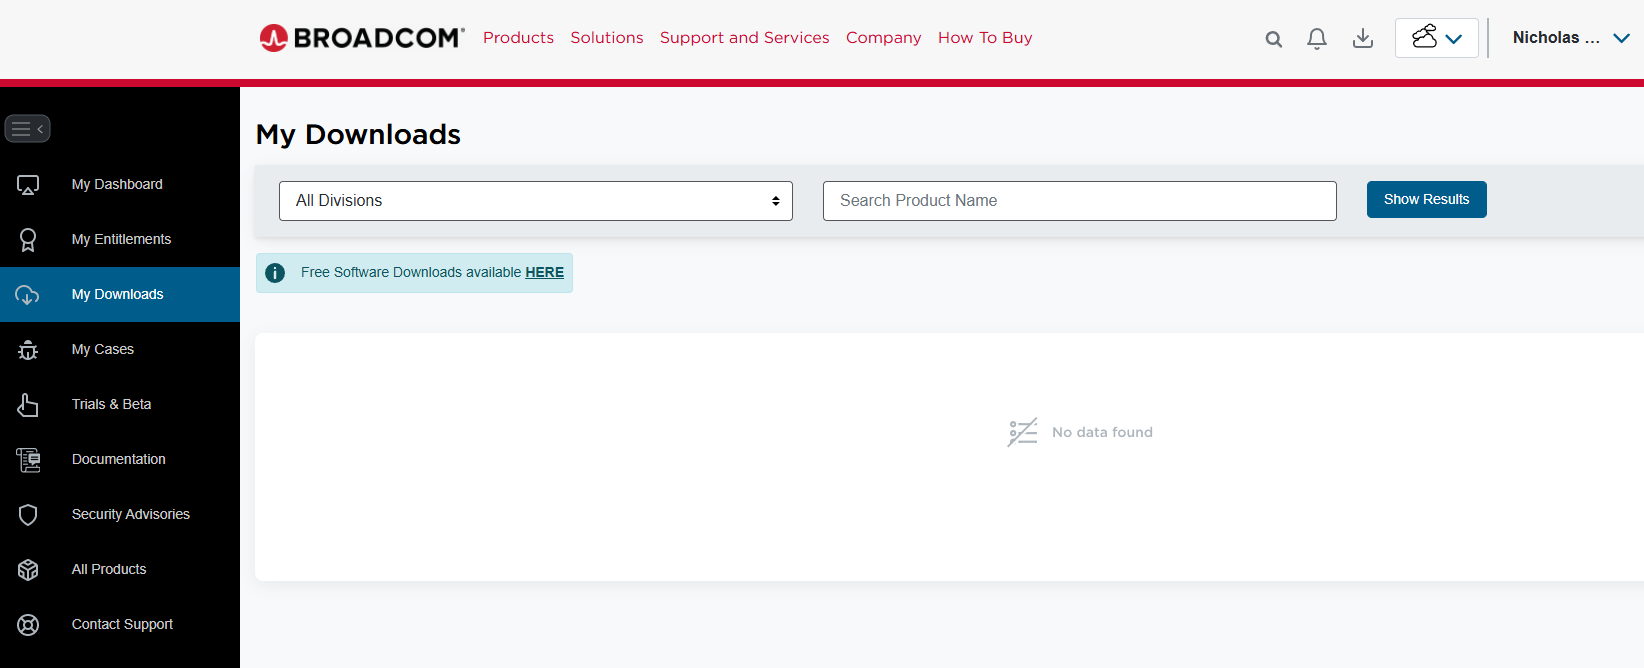
- In the Search box, type “Workstation Pro”
- In the Search boc, you can also search VMware Fusion for macOS
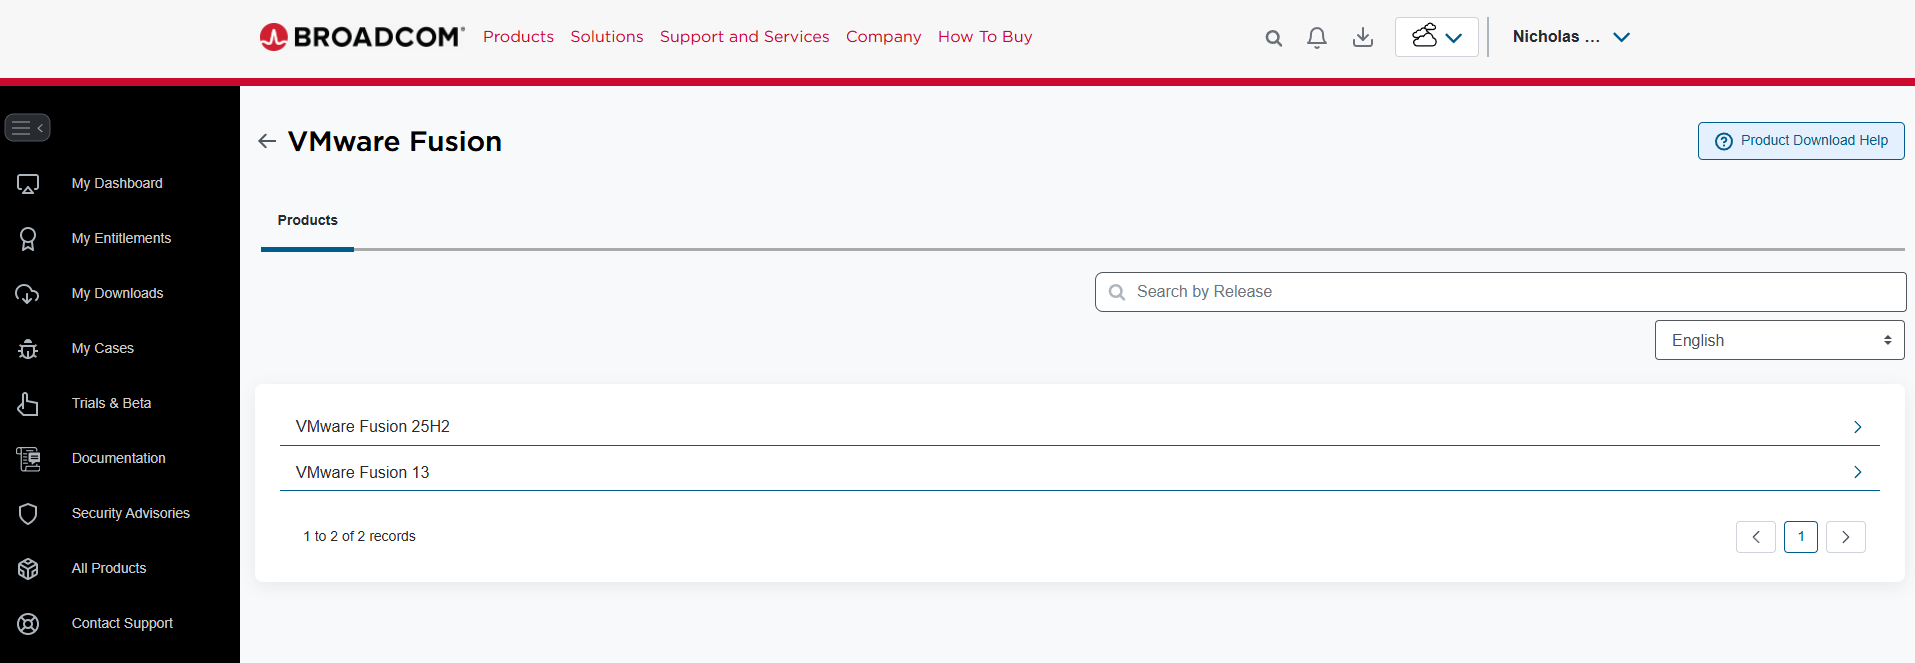
- Download the VMware Workstation Pro or VMware Fuision installer. Once installed, proceed to open the software and configure your virtual machines.
Quick Steps to Configure a VM in VMware Workstation Pro
Creating Virtual Machines can be done by by using the New Virtual Machine wizard found on the VMware Workstation Pro 25H2 Home Screen.
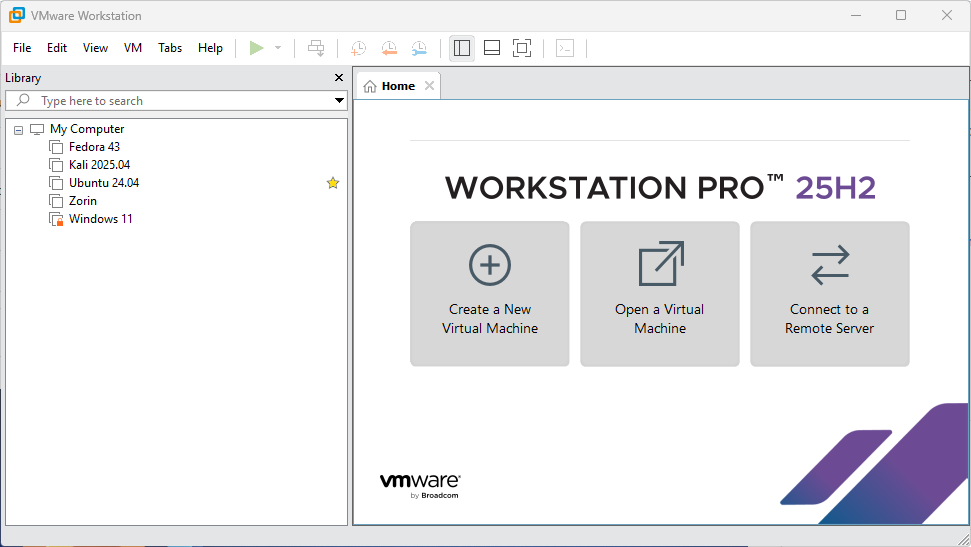
1. Launch VMware Workstation Pro
Open the software from your Start Menu (Windows) or app menu (Linux).
2. Create a New VM
Click Create a New Virtual Machine or go to File → New Virtual Machine.
3. Choose Configuration Type
- Typical (recommended) for most users
- Custom if you need advanced options (hardware version, etc.)
Click Next.
4. Select Installation Media
Pick how you want to install the guest OS:
- Installer disc
- ISO image file
- Install OS later
Then click Next.
5. Select Guest OS
Choose the operating system you will install (e.g., Linux, Windows) and its version.
6. Name the VM & Choose Location
Give your VM a name and select where to save its files.
7. Set Disk Size
Choose the maximum disk size and whether to store the disk as a single file or split it into multiple files.
8. Finish & Create
Review the settings and click Finish. Your VM appears in the library.
9. Power On & Install OS
Select the VM and click Power on this virtual machine.
Complete the operating system installation process.
10. Install VMware Tools (Recommended)
After the OS is installed, go to VM → Install VMware Tools to improve integration (mouse, display, drivers).
Optional Configurations
After creating the VM:
-
Hardware adjustments (RAM, CPUs, network):
Right-click the VM → Settings. -
Networking options:
NAT, Bridged, Host-only
External Links
Download ISO Files
Linux ISO
- Fedora
- Kali Linux Pre-Build Virutal Machines
- Linux Mint 22.2 ‘Zara’
- Manjaro
- Ubuntu 24.04 & Ubuntu 25.10
- Ubuntu Flavors
- Zorin OS 18 Core
Windows ISO
Alternative Virtualization Software
- VirtualBox (Free and available for Windows, Linux, and MacOS)
- Hyper-V (Windows 11 Pro versions only)
- Parallels (MacOS Only)